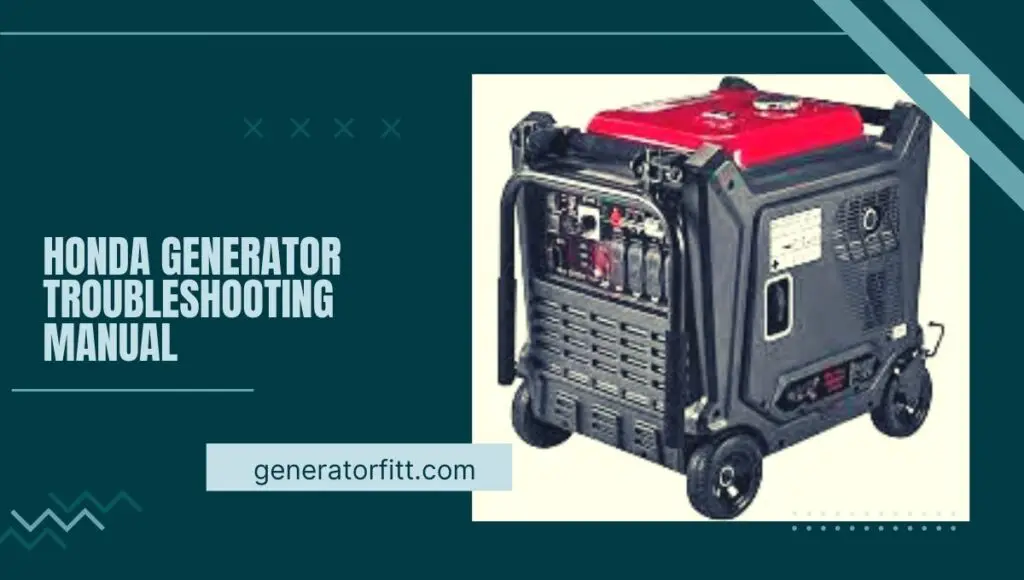
Honda Generator Troubleshooting Manual (Common Problems & Solutions) In 2023
Honda Generator Troubleshooting Manual, Are you facing issues with your Honda generator? Don’t worry, as we’ve got you covered!
In this article, we will provide you with a comprehensive troubleshooting manual for Honda generators.
Whether you’re experiencing starting problems, power issues, or any other concerns, this guide will help you diagnose and resolve common problems efficiently. So, let’s dive in and get your Honda generator up and running smoothly again!

Honda Generator Troubleshooting Manual
However, for troubleshooting your Honda generator, you can refer to the troubleshooting section in the generator’s manual or contact Honda customer support for assistance.
They can provide you with detailed guidance tailored to your specific generator model and the issue you are experiencing This article, is a Full Detail step by step guide about the Honda Generator’s Troubleshooting Manual.
Honda Generators
Honda generators are renowned for their reliability, durability, and efficient power generation. They are widely used for various applications, including outdoor events, construction sites, camping trips, and backup power during emergencies.
However, like any mechanical device, Honda generators can encounter issues over time. This troubleshooting manual will assist you in identifying and resolving these problems effectively.
The Basic Components
Before diving into troubleshooting, it’s essential to familiarize yourself with the basic components of a Honda generator.
These include the engine, fuel tank, spark plug, air filter, oil fill, circuit breaker, fuel filter, fuel pump, voltage regulator, alternator, carburetor, governor, fuel lines, exhaust system, and cooling system. Understanding these components will facilitate your troubleshooting process.
Pre-Troubleshooting Checklist
Before proceeding with specific troubleshooting steps, it’s crucial to perform a pre-troubleshooting checklist.
This checklist ensures that you cover the basics and potentially resolve the issue without further intervention.
The pre-troubleshooting checklist includes checking the fuel level, inspecting the spark plug, verifying the choke position, examining the air filter, and assessing the oil level.
Troubleshooting Common Starting Problems
Here is an Explain of Troubleshooting Common Starting Problems
Check Fuel Level and Quality
One of the primary reasons for a generator not starting is inadequate fuel supply. Ensure that the fuel tank is adequately filled with clean, fresh gasoline. Stale or contaminated fuel can cause starting issues, so it’s important to use high-quality fuel.
Inspect the Spark Plug
A faulty or dirty spark plug can prevent your generator from starting. Remove the spark plug and examine its condition. If it’s worn out, covered in deposits, or damaged, replace it with a new one.
Verify the Choke Position
The choke position regulates the air-to-fuel mixture during startup. Ensure that the choke is in the correct position as mentioned in the user manual. Incorrect choke settings can hinder the generator’s starting process.
Examine the Air Filter
A clogged or dirty air filter can restrict airflow to the engine, leading to starting problems. Remove the air filter and clean or replace it if necessary. Regular maintenance of the air filter is vital for optimal generator performance.
Assess the Oil Level
Check the oil level using the dipstick provided. Low oil levels or dirty oil can affect the generator’s starting ability. If the oil level is low, add the recommended oil type and quantity as specified in the user manual.
Troubleshooting Power Output Issues
Here are the Troubleshooting Power Output Issues
Evaluate the Circuit Breaker
If your Honda generator is running but not producing any power, check the circuit breaker. A tripped circuit breaker can interrupt the power output. Reset the circuit breaker by switching it off and then on again.
Check the Fuel Filter
A clogged fuel filter can impede the flow of fuel to the engine, resulting in power issues. Inspect the fuel filter and clean or replace it as needed. Regularly maintaining the fuel filter enhances generator performance.
Inspect the Fuel Pump
A malfunctioning fuel pump can restrict the fuel supply, leading to power output problems. Check the fuel pump for any blockages or defects. If necessary, repair or replace the fuel pump following the manufacturer’s instructions.
Assess the Voltage Regulator
The voltage regulator ensures stable and consistent power output from the generator. If you’re experiencing fluctuations or inadequate voltage, the voltage regulator may be at fault. Consult a professional technician to diagnose and rectify voltage regulator issues.
Verify the Alternator
The alternator is responsible for generating electricity in the generator. If the alternator is faulty, it can result in low or no power output. Consult a qualified technician to inspect and repair the alternator if needed.
Troubleshooting Engine Performance Problems
Here are the Troubleshooting Engine Performance Problems
Examine the Carburetor
A dirty or clogged carburetor can affect the engine’s performance. Inspect the carburetor and clean it thoroughly.
If cleaning doesn’t resolve the issue, consider seeking professional assistance or replacing the carburetor.
Inspect the Governor
The governor regulates the engine’s speed and prevents overspeeding. If the generator is running erratically or at an inconsistent speed, the governor may need adjustment or repair. Contact a certified technician for governor-related troubleshooting.
Check the Fuel Lines
Inspect the fuel lines for any leaks, blockages, or damage. Damaged fuel lines can disrupt the fuel supply and hinder engine performance. Replace any faulty fuel lines to ensure proper fuel flow.
Assess the Exhaust System
A malfunctioning exhaust system can lead to poor engine performance and increased noise levels. Inspect the exhaust system for any leaks, blockages, or damage. Repair or replace any faulty components to restore optimal engine performance.
Verify the Cooling System
Overheating can adversely affect the generator’s engine performance. Ensure that the cooling system is functioning correctly.
Check the coolant level, radiator, and cooling fan for any issues. Maintain the cooling system regularly to prevent overheating problems.
Additional Troubleshooting Tips
Here are The Additional Troubleshooting Tips
Clean and Maintain Your Generator Regularly
Regular cleaning and maintenance are crucial for the optimal performance of your Honda generator.
Keep the generator clean, inspect all components, and perform routine maintenance tasks such as oil changes and filter replacements. Adhering to a maintenance schedule will prevent many common issues.
Check for Loose Connections
Loose electrical connections can cause various problems, including starting issues and power output fluctuations. Regularly check and tighten all electrical connections to ensure a secure and reliable connection.
Refer to the User Manual
The user manual provided with your Honda generator contains valuable troubleshooting information specific to your model.
Whenever you encounter an issue, refer to the user manual for guidance on troubleshooting steps, maintenance procedures, and recommended solutions.
People also ask
What is the most common problem with generators?
The most common problem with generators is starting issues. This can be caused by factors such as inadequate fuel supply,
a faulty spark plug, an incorrect choke position, a clogged air filter, or low oil levels.
What are the most common problems of a Honda generator not starting?
The most common problems that can cause a Honda generator not to start include issues with the fuel supply,
such as low fuel level or poor fuel quality, a faulty spark plug, incorrect choke position, a clogged air filter, or low oil levels.
Why is my Honda generator not staying on?
If your Honda generator is not staying on, it could be due to various reasons.
Some common causes include a clogged fuel filter, a malfunctioning fuel pump, a faulty voltage regulator,
an inadequate fuel supply, or issues with the carburetor. It is recommended to troubleshoot and address these issues to ensure your generator stays running smoothly.
How do you troubleshoot a faulty generator?
To troubleshoot a faulty generator, follow these steps:
Check the fuel supply: Ensure the generator has an adequate fuel level and that the fuel is clean and of good quality.
Inspect the spark plug: Remove and examine the spark plug for damage or deposits. Clean or replace it if necessary.
Verify the choke position: Make sure the choke is in the correct position as indicated in the user manual.
Examine the air filter: Clean or replace the air filter if it’s clogged or dirty.
Assess the oil level: Check the oil level using the dipstick and add or replace the oil as needed.
Check for loose connections: Tighten all electrical connections to ensure a secure connection.
Consult the user manual: Refer to the generator’s user manual for specific troubleshooting steps and recommendations.
By following these steps, you can identify and address common issues that may be causing your generator to malfunction.
Conclusion
In conclusion, troubleshooting your Honda generator doesn’t have to be a daunting task. By following the steps outlined in this comprehensive manual, you can diagnose and resolve common issues effectively.
Remember to perform the pre-troubleshooting checklist, understand the basic components, and follow the troubleshooting steps for starting problems, power output issues, and engine performance concerns.
Regular maintenance and adherence to the user manual guidelines will keep your Honda generator running smoothly for years to come.
Hi, I am Brines Loe and I am an Expert in Generators I have Experience in This Field I want to Help You About This Website! Welcome to our generator (Outdoor) Guide blog! We are dedicated to providing you with the latest information and tips on outdoor generators, ensuring that you have the knowledge you need to make informed decisions about which generator is right for you.


